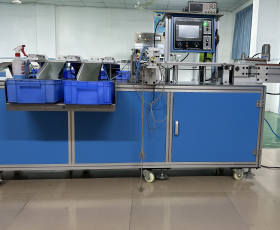
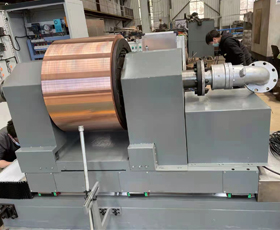
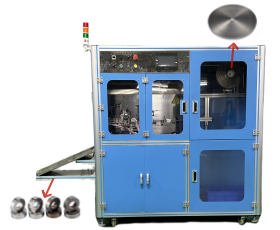
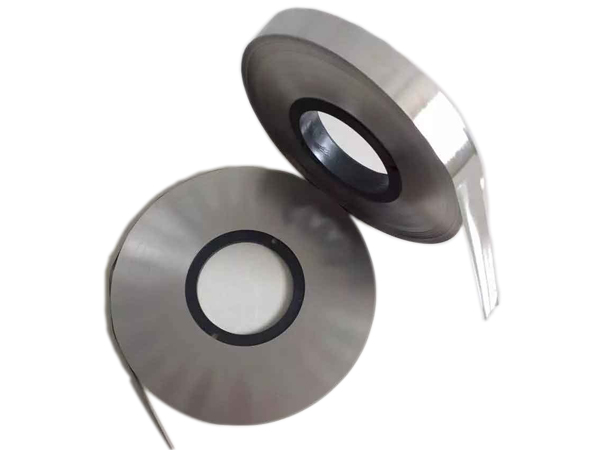
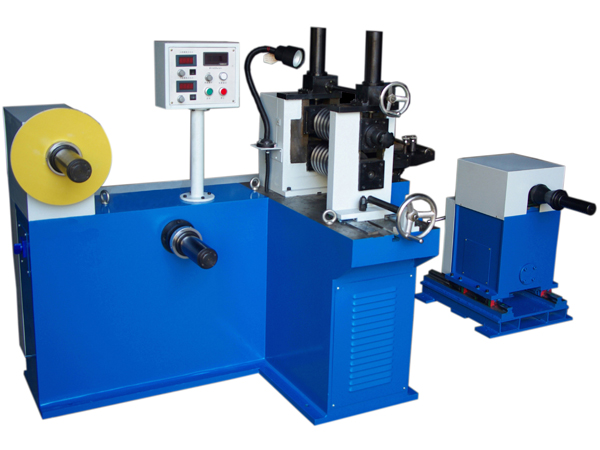
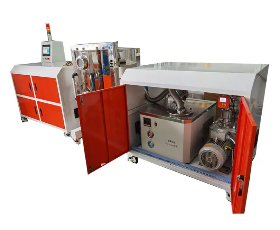
Bare Core and Finished Product Testing Machine
This equipment places the product manually on the conveyor belt, and the conveyor belt automatically transports the product to the flat delivery mechanism, which then delivers the product to the testing facility.
Technical Patameter
1. Number of sorting bins: determined by customer requirements;
2. Sorting core specifications: Customers can propose test core specifications before placing an order;
3. Sorting speed: when testing volt-ampere characteristics: ≥80 pieces/minute (with plastic case), less than 50 pieces/minute without plastic case; When testing the inductance value, ≥80 pieces/minute (with plastic case), less than 50 pieces/minute without plastic case. This depends on the tester selected and product specifications.
4. Rated voltage: AC220V
5. Power: 500W
6. Electric current: 4A
7. Air pressure requirement: 0.3Mpa-0.8 Mpa
8. Overall dimensions: 1300×900×1350 MM
Main features
1. All actions are coordinated and controlled by the power-off signal through PLC. The operation is simple, the work is stable and reliable, and one person can take care of multiple machines.
2. By replacing the sorting plate, products of different shapes and sizes can be sorted.
3. The human-machine interface can monitor the test output in real time, manually control each action and modify the parameters of each motor.
Introduction
Installation and power connection
1. When installing this equipment, the ground is required to be flat, and the four machine corners must be adjusted to make the equipment and the ground roughly level.
2. Connect the main power cord from the electrical cabinet to the AC220V power supply and ground it reliably to ensure safe use.
3. Insert the power cord plug of the test sorter into the three-pin socket behind the electrical cabinet, connect and tighten the signal cord connector.
Adjustment before use
(1) Adjustments before starting up:
Place the product back at the corresponding label --- Install the corresponding turntable --- Use alcohol cotton to wipe the test head to avoid errors
(2) Usage process after turning on the device:
Step 1: Reset action.
After turning on the machine, first press the "Reset" button to adjust the feed port of the test head turntable to be opposite to the material outlet of the horizontal feeding mechanism. If it is still not aligned after resetting, press the "Reset" button, loosen the fastening handle on the turntable. Then adjust to make the feed inlet of the turntable consistent with the feed inlet of the level feeder, and then press the "Reset" button to confirm whether the positions are consistent.
Step 2: Adjust motor speed.
Press the "Start/Stop" button to let the flat feed motor and conveyor belt motor operate to start feeding. When adjusting, turn the knob of the motor control box on the panel.
Step 3: Set the test quantity.
Before starting the test, the current measurement value must be cleared to zero, and the output to be set must be entered at the set value.
Step 4: Calibrate and clear the test instrument.
Enter the debugging screen, open the test cylinder so that the upper and lower test needles are in complete contact (please remove the material if there is any), Check whether the test connection line of the instrument is reliably connected. Press the "trigger" button on the panel of the test instrument. The instrument should display a value in the range of 0.000-0.004mv. If it is greater than 0.004mv, please clear the test instrument, turn it off and on again, and then repeat the above operation until the instrument displays 0.000-0.004mv.
Step 5: Trial run.
After the instrument is set and the reset is completed, press the "Start/Stop" key to start, or press the "Single Step" key to perform a single step action. Observe whether there is any problem. If there is no problem, you can take out the product before testing and let it be empty for testing and observe whether its empty measurement accuracy meets the standard.
General precautions and troubleshooting
General precautions
1. Operating qualifications: Personnel of operating, inspecting, repairing, adjusting, etc. of this equipment must be trained in the operation of this equipment. Maintenance personnel also need to have mechanical and electrical maintenance qualifications, and only those who pass the assessment can operate and maintain the equipment.
2. Operator obligations
First, please follow the safety regulations guidelines for this equipment and make sure they are followed.
Second, don’t touch electrical equipment with wet hands.
Third, please ensure safety when cleaning around the equipment during operation.
Fourth, if an abnormality occurs during operation, please stop the machine immediately and handle it according to the abnormal handling methods or contact our company.
Fifth, please clean the area around the equipment after finishing work every day.
Sixth, it is prohibited to unplug the safety switch or cancel the safety protection function.
Seventh, perform regular maintenance and confirm whether safety detection and protection actions are normal.
Eighth, the quality of workpieces must be determined according to the sampling inspection cycle specified in the project management details. If any abnormality occurs, the person in charge or leader should be reported immediately and follow their instructions.
Ninth, safety confirmation during maintenance.
3. During inspection and repair, please perform the following steps to ensure safety:
First, stop the equipment and confirm that each mechanism is stopped in a safe position.
Second, when entering the equipment, please confirm the status of each safety mechanism. If necessary, appoint a dedicated person to monitor or unplug the safety switch lock and safety pin, and carry them with you.
Third, all power sources such as the switch of the main power box of the power box must be cut off, and parts with locking devices must be locked.
Fourth, use designated parts.
Fifth, please use designated products for overcurrent protectors such as fuses and maintenance parts.
Troubleshooting
1. Shutdown: The main problem causing shutdown is material jamming. There are two types of stuck materials, one is that it cannot be blown out and is stuck in the middle; the other is that the product cannot be fed into the test turntable.
Solution: ① Press the "Start/Stop" button first, remove the stuck or inaccessible product, and then press the "Reset" button.
②Turn on the machine and observe first, put your hand outside the rubber case where the material is jammed to feel the size of the airflow. If the airflow is too small, the product will not be blown out, so the airflow should be increased. Observe and adjust while adjusting. It is better to adjust the air flow to the point where the product can be blown out, but it should not be too strong.
2. Error problems in measurement: The main causes of error problems are dust, test connection lines, and the tightness and stability of the stylus contact.
Solution: ① Press the "Stop" button first, then press "Reset". After resetting, observe whether the connecting wire of the test head is pulled to other places during the test, resulting in looseness and tightness. Use alcohol cotton to wipe the test needle. Then enter and observe whether there is any deviation in the contact position of the upper and lower probes and whether the spring is loose during contact. Then press the "trigger" button of the tester to measure and observe whether the measured value is within the allowed tolerance standard.
② If the test head connection cable is too loose or too tight, leave a certain amount of tightness in the connection cable and secure it with a tie, then wipe the test head with alcohol cotton, and then enter the manual page of the human-machine interface. Press the test cylinder to engage it, press it once to trigger the tester, and observe where its test accuracy goes. If it is acceptable, OK; if not, check the tightness of the stylus to see if it needs to be replaced. Also check to see if the head of the stylus is worn, and causing errors. If the test accuracy after replacing the stylus is still unacceptable, try changing the test instrument.
Request a Quote


